
I eat an alarming amount of nut butter each week.
As a vegetarian who eats minimal dairy, nut butter is an essential source of protein and a pantry staple. I slather it on rice cakes and toast, bake it into gluten-free bars and cookies, swirl it into oats and yogurt and of course eat it with a spoon out of the jar. With a jar a week habit, finding a way to make it zero waste was a game changer.
I started at Whole Foods, switching from jars of nut butter to the fresh grind option found in the bulk section. I am lucky enough that the Bay Area Whole Foods stores allow me to bring in my own jar. I quickly mastered taring my jar and filling it with fresh, delicious almond or peanut butter. I even prefer the taste of the fresh grind nut butter to the jared version. And it has no sugar, salt or preservatives, just whole peanuts or almonds. Super healthy and also much cheaper!
Recently, I ran out of nut butter in the morning before breakfast and was tempted to get in my car and drive to the nearest Whole Foods. But, having a 7 month old made it tricky for me to just leave and I was feeling extra hungry. I needed nut butter....like now. So, I put on my zero waste thinking cap and looked through my pantry to see what I could use.
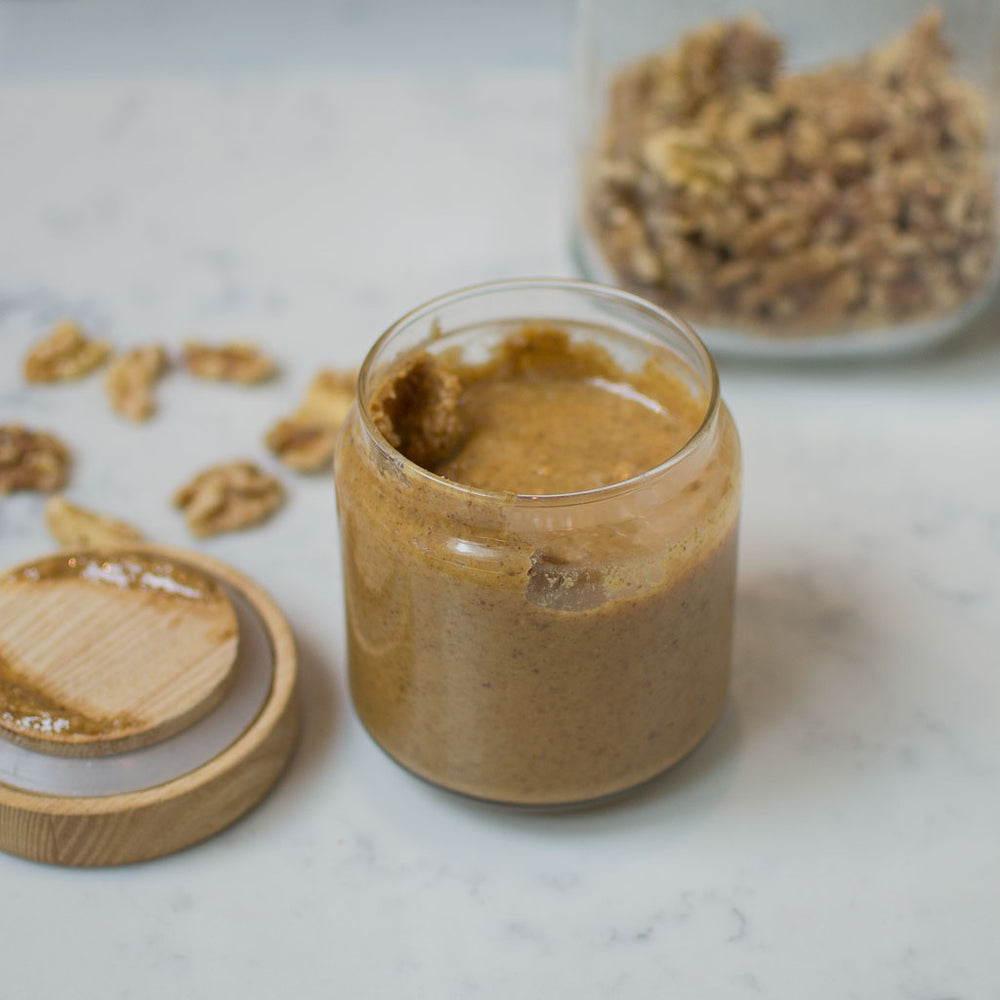
I found a large jar of whole raw walnuts and remembered that I had once bought a very expensive, tiny jar of walnut butter that was delicious. Turning the walnuts into walnut butter was surprisingly easy and it can be customized with honey, maple syrup, vanilla, salt, etc. I’m now obsessed with walnut butter and am sure to fill up up a large cloth bag from the bulk section when I go grocery shopping.
Here is my recipe:

Walnut Butter
INGREDIENTS
- 4 cups of raw walnuts (yields about 2 cups)
INSTRUCTIONS
- Spread walnuts in a single layer on a baking sheet and bake at 350°F for about 10-12 minutes until lightly golden and fragrant.
- Allow walnuts to cool for 10 minutes. Add cooled walnuts to Vitamix blender and blend on low, using the tamper to push walnuts down towards the blade.
- At first, the texture will be quite crumbly. Keep pushing the nuts towards the blade with the tamper until it becomes a smooth paste (or desired texture). The nuts will start to release their own oils and make it super smooth the longer you grind it. It takes me about 10 minutes to reach my desired consistency.
- Store in a jar or container with an air-tight seal.
That's it! Super simple, right? I don't add anything to mine, cause it's just that good, but you could customize with honey, maple syrup, spices like cinnamon or ginger or whatever you desire. I recommend adding at the very end, once your nut butter has reached your desired consistency. Enjoy!
Note: I know that you could also make nut butter in a food processor, but I've never tried it and am not sure if you need to add oil to get the right smoothness.